

all the tea bags that are in the book, aren't these the coolest tea bags ever?

the front cover of the book

the book closes with a ribbon

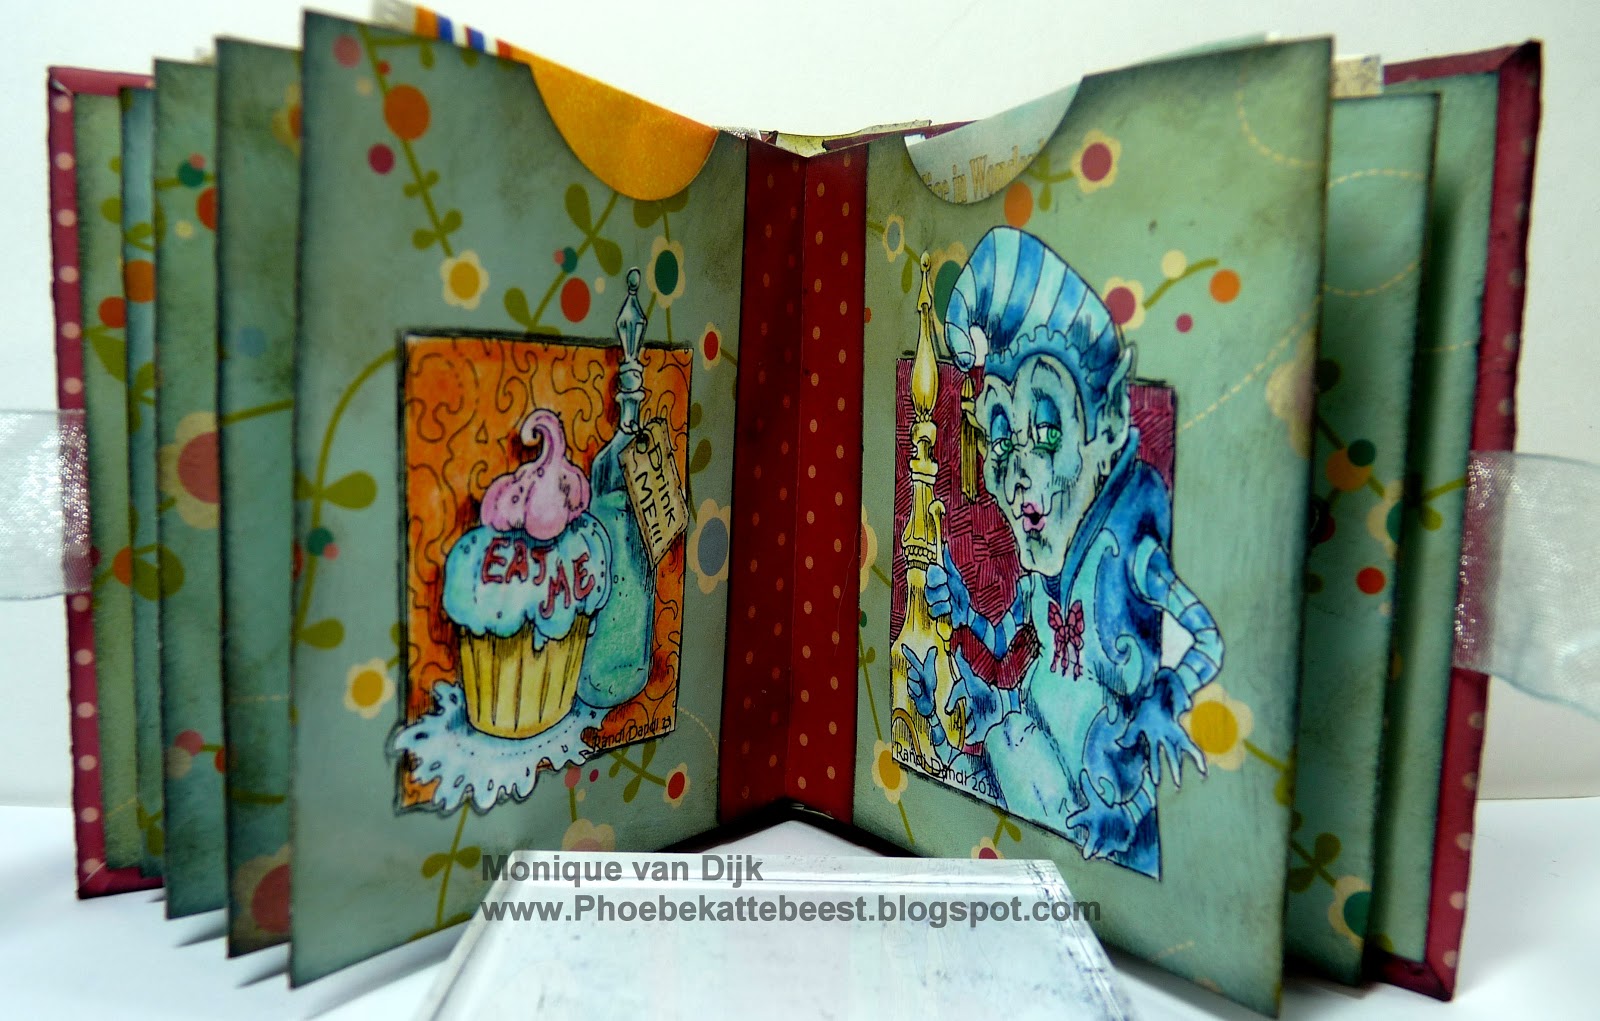
here you can see the pockets with the tea bags in it

the inside of the book




the back cover

a closer look at all the Rick St. Dennis MFA Images used,
Check out Rick's blog cause there is a special sale for these images


Colouring these was a bit challenging cause I have printed them real small, most of the images are printed at 2 inches, some a little bit bigger
Here is how to make the book
You will need:
6 pieces of paper size: 16 cm wide x 8,5 cm high (6,3 inches x 3,3 inches)

score at 8 cm (3,1 inch)
and fold

then you need 7 pieces of paper from 3 cm wide x 8,5 cm high (1,2" x 3,3")
we are going to use these to bind the book

score at 1,5 cm (0,6 ") and fold

use double sided tape to make pockets of the 6 pages, see below

they should look like this

use a 1,5" circle punch to puch out half circles, to make it easier to slide the tea bag sleeves in and out of the pockets

I inked all the edges and the surface of the paper to give it a bit of a vintage look

attache the small strips of paper to the side of the pocket that is closed with the double sided tape, so folded end is going to bee the side that is visable at the open side of the book.(use liquid glued so you can move it a bit to make things straight) see pic

then add another page to the other side of the strip

do this to all pages see pics


the last to strips are going to have the covers on them, it should look like this

for the covers you need 2 pieces of cardboard of 8,5 cm wide x 9 cm high (3,1" x 3,5")

to cover the cardboard use a piece of paterend paper that is a bit bigger than the cardboard see pic

glue the cardboad in the center of the backside of the paterned paper and cut of the corners, like pic below

score and fold the edges over and glue to card see pic

use double sided tape to attache the ribbon that is going to close the book, make sure it's long enough to tie a bow.

glue a piece of patterned paper on the inside part of the cover, over the ribbon, like this

glue both covers to the remaing strips that bind the book
aline the covers on the backside of the book to the strip, it you donn't do this you will have problems opening the book.
put a strip of patterne paper over the back, to give it a more finished look
see pics below, I also tied a ribbon


I will enter this tea bag book in the following challenges
