Followers

Showing posts with label Alice. Show all posts

Sunday, February 11, 2018

Alice

I show you how to make an Alice inspired journal page at the  Blank Muse Inspirational team blog today, check out the details here and the video here


stamps used

Blank Page Muse Stamps-

Tuesday, March 28, 2017

Awesome news

Hi  all, I finally can show you the rubber stamps I designed for Sin City Stamp, I hope you all like them.

Here is a first project sample i made using my designs.


Sin City Stamps Used : The Wildflower set (designed by me ....how cool is that?) 

Americana Neon Lights in Knock Out Blue and Pink Explosion
Dazzling metallics in: Teal and Berry
Metallic Lustres in Fab Fuchsia and Brilliant Turquoise

 Dutch doobadoo stencil and Tim Holtz gear dies

First I made the background  using the Americana Neon paints and because Alice's world is surreal and my worl too (ya what can I say....) I thought to make the ground pink....and ofcours the sky blue.

Next I stencilled the checks using Dazzling Metallics and to complete the weard world of Alice I used my own stamp designs (it's sooo cool to be able to write "my own stamp designs" sorry bout that  but just super exited I got asked to do this ). To get this world I thought of I could either go mask or just use the stamps on paper and cut them out, since masking would have had the risk of paint getting under the mask and it would mean fussy cutting too, I went for oprion 2 :-).
I coloured the stamps using colored pencils (Crayola nothing fancy) and used Matte Medium to glue them on the page.

The Wildflower word comes in "my"stamp set too, the rest of the senti I wrote using a Deco Art glass marker, they work great over acrylic paint.

I finsihed the page giving it a frame of gears using the Tim Holts die and black cardstock. The gears were coloured using the metallic lustres and glued to the page using tacky glue.


In my brain Alice is asking where to go and the scary flower is asking the heart vine if Alice is a wildflower, sorta  like in the book, just different flowers

Hope you like the page. The journal I used is a small Moleskine.

here a view of the complete stampset, now available on pre order for 14.99 USD for the coming 2 weeks, next it will go back to it's regular price of 18.99 USD, so I would suggest to go get them fast to save some money :-)


I will enter the following challenges

http://stampedblessings.com/heartfulstamping-challenge/

http://mixedmediaworld.blogspot.nl/2017/03/mmw23-anything-mixed-media-goes-with.html

http://theartisticstampercreativeteam.blogspot.nl/2017/03/marchs-creative-challenge-springtime.html

http://sandee-and-amelie.blogspot.nl/2017/03/sandee-march-2017-challenge-part-two.html

Thursday, October 1, 2015

RSD Progressive challenge

Another challenge over at the Sparkle and Glitter blog,  The image to be used is Alice. If you love colouring and a;ice check out Rick's colouring book Alice's 150 birthday here

I made Alice into a card


we can;t wait to see your entries here

Wednesday, September 30, 2015

Alice

I made a card using a rubber stamp designed by Rick St.dennis, available at I Brake For Stamps.


The imgage is coloured using Derwernt Inktense pencils , and the background ismade using Deco At Products: Andy Skinner Stencil Baroque, Deco Art Traditions Opaque white, Media shimmer misters in Yellow, Viole and Turquoise.


Also check out Rick's Alice 150 th birthday coloringbook here

Monday, July 7, 2014

just a quick post

things are a bit hectic here, so only a quick post with some coloured Rick St.dennis digital images to show you

Goddess of moonlight and evening fog , coloured using Spectrum Noir Blendable pencils


the Duchess  also SN pencils

Mystique again SN pencils


Death and the maiden coloured using Caran d'ache Luminance 6901 pencils

this will be my last blog post for a while, will be doing some traveling coming 5 weeks, see you all later

thanks for visiting my bloggie , have a great summer.


O and a little experiment, a drawing by me :-) using my caran d'aches

I had fun drawing this rooster, not perfect but I liked doing it

Wednesday, February 27, 2013

Alice in Wonderland card

I made this card for cards in envy challlenge Polkadots and / or stripes.

I'ts got polkadots, no bulky embellishments and it fits in an envelope for regular first class postage, was a bit of a challenge, but it worked and i like how it turned out.

I used Rick St. Dennis MFA new Alice digi set which are on a special sale for a limited time here, you can see a better pic of all the coloured images here

here is my (un) birthdaycard


 to send the card, just close it with the ribbon and it will fit in normal size envelope
 
I will enter this card in the following chalenges
 
 
http://celebratetheoccasion.blogspot.nl/2013/02/challenge-101.html the polka dot paper is pink, color looks more red in pic, couldn't take a better pic without daylight


Monday, February 25, 2013

Alice's Tea Party

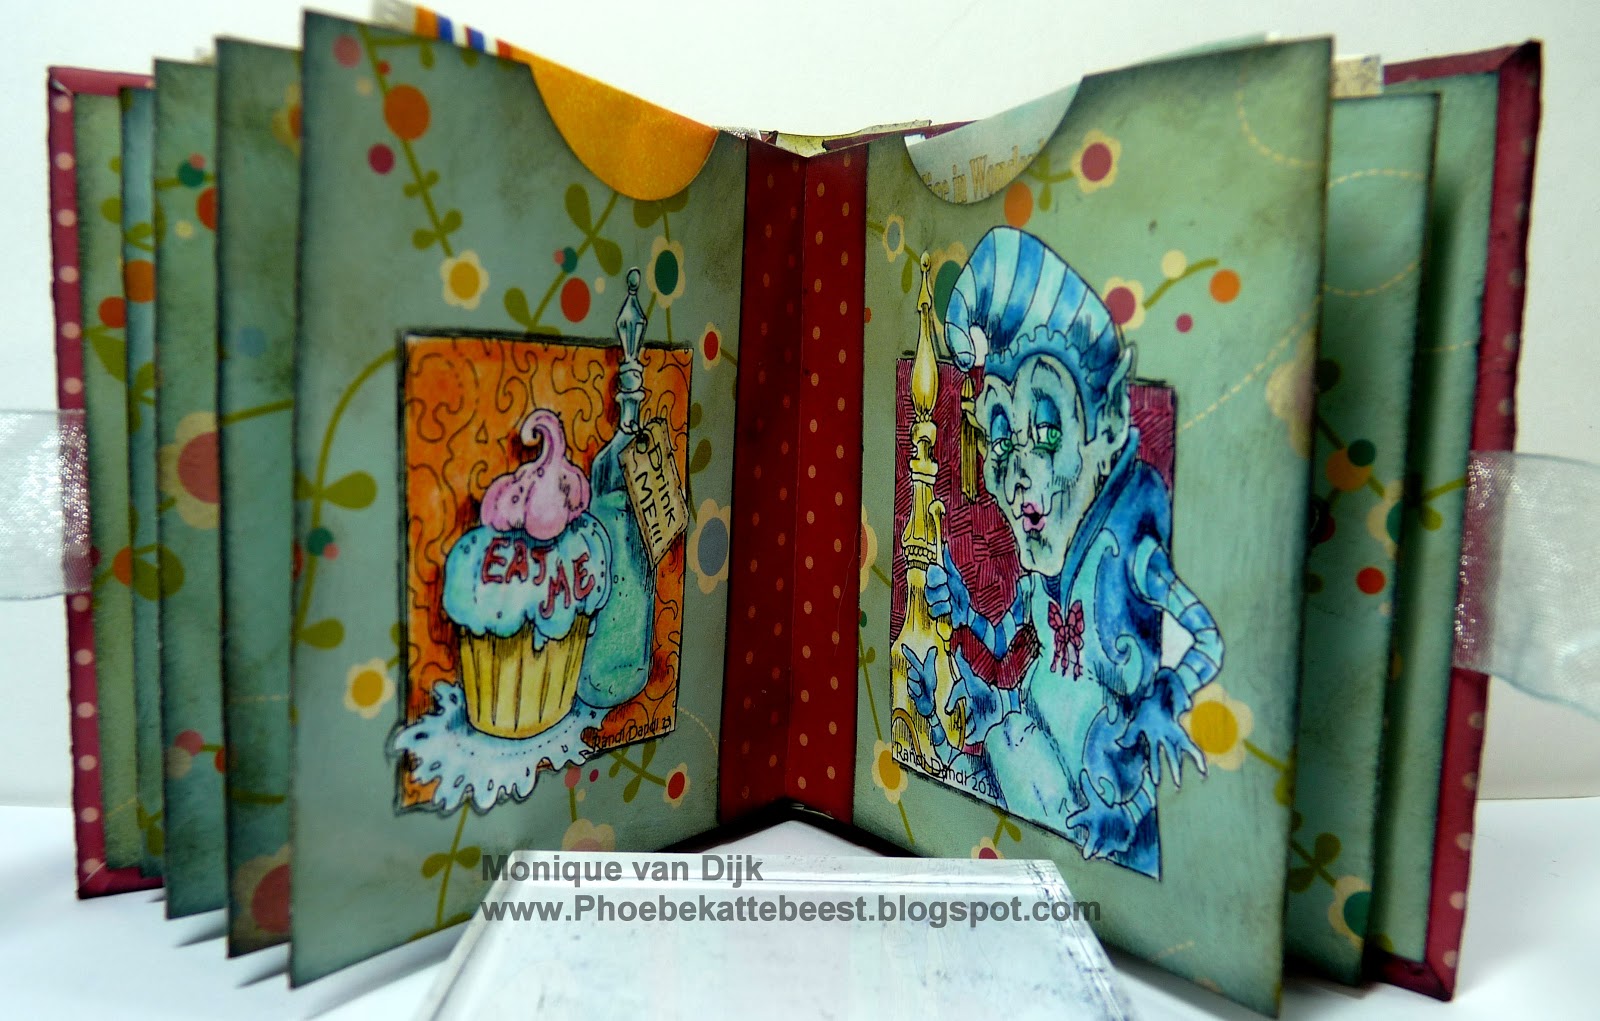
this was such a fun project to make, I had thought of making a teabag book,  a mini book with pockets that hold tea bags, and told Rick about it, and he had the awesome idea to make it an Alice in Wonderland Teabag book.  He drew al lot of new Alice images for it.  In total there are 16 Alice Randi Dandi images in the book, and most of them are new. There will be a how to at the end of this post, and there are a lot of pics in it, so enjoy.

all the tea bags that are in the book, aren't these the coolest tea bags ever?

the front cover of the book


the book closes with a ribbon


here you can see the pockets with the tea bags in it

the inside of the book


the back cover


a closer look at all the Rick St. Dennis MFA Images used,
Check out Rick's blog cause there is a special sale for these images


 Colouring these was a bit challenging cause I have printed them real small, most of the images are printed at 2 inches, some a little bit bigger

Here is how to make the book

You will need:
 6 pieces of paper size: 16 cm wide  x 8,5 cm high (6,3 inches x 3,3 inches)


score at 8 cm (3,1 inch)
and fold

then you need 7 pieces of paper from 3 cm wide x 8,5 cm high (1,2" x 3,3")
we are going to use these to bind the book

score at 1,5 cm (0,6 ") and fold

use double sided tape to make pockets of the 6 pages, see below

they should look like this

use a 1,5" circle punch to puch out half circles, to make it easier to slide the tea bag sleeves in and out of the pockets


I inked all the edges and the surface of the paper to give it a bit of a vintage look


attache the small strips of paper to the side of the pocket that is closed with the double sided tape, so folded end is going to bee the side that is visable at the open side of the book.(use liquid glued so you can move it a bit to make things straight) see pic
then add another page to the other side of the strip

do this to all pages see pics


the last to strips are going to have the covers on them, it should look like this


for the covers you need 2 pieces of cardboard of 8,5 cm wide  x 9 cm high (3,1" x 3,5")


to cover the cardboard use a piece of paterend paper that is a bit bigger than the cardboard see pic


glue the cardboad in the center of the backside of the paterned paper and cut of the corners, like pic below

 score and fold the edges over and glue to card see pic


use double sided tape to attache the ribbon that is going to close the book, make sure it's long enough to tie a bow.

glue a piece of patterned paper on the inside part of the cover, over the ribbon, like this


glue both covers to the remaing strips that bind the book
aline the covers on the backside of the book to the strip, it you donn't do this you will have problems opening the book.
put a strip of patterne paper over the back, to give it a more finished look
see pics below, I also tied a ribbon


I will enter this tea bag book in the following challenges