Americana Neon Lights in Knock Out Blue and Pink Explosion
Dazzling metallics in: Teal and Berry
Metallic Lustres in Fab Fuchsia and Brilliant Turquoise
Dutch doobadoo stencil and Tim Holtz gear dies
First I made the background using the Americana Neon paints and because Alice's world is surreal and my worl too (ya what can I say....) I thought to make the ground pink....and ofcours the sky blue.
Next I stencilled the checks using Dazzling Metallics and to complete the weard world of Alice I used my own stamp designs (it's sooo cool to be able to write "my own stamp designs" sorry bout that but just super exited I got asked to do this ). To get this world I thought of I could either go mask or just use the stamps on paper and cut them out, since masking would have had the risk of paint getting under the mask and it would mean fussy cutting too, I went for oprion 2 :-).
I coloured the stamps using colored pencils (Crayola nothing fancy) and used Matte Medium to glue them on the page.
The Wildflower word comes in "my"stamp set too, the rest of the senti I wrote using a Deco Art glass marker, they work great over acrylic paint.
I finsihed the page giving it a frame of gears using the Tim Holts die and black cardstock. The gears were coloured using the metallic lustres and glued to the page using tacky glue.
In my brain Alice is asking where to go and the scary flower is asking the heart vine if Alice is a wildflower, sorta like in the book, just different flowers
Hope you like the page. The journal I used is a small Moleskine.
here a view of the complete stampset, now available on pre order for 14.99 USD for the coming 2 weeks, next it will go back to it's regular price of 18.99 USD, so I would suggest to go get them fast to save some money :-)
I have been trying our my new Andy Skinner stencils and made some tags, :-)
Deco Art products used: Media Fluid Acrylics in colours: Ultramarine Blue, Primary Magenta, Cadmium Orange Hue, Hansa Yellow Light, Cobalt Teal Hue, Diarylide Yellow, Transparent red iron oxide, Yellow Oxide, Cobalt Turquoise Hue. Traditions Acrylics in Carbon Black and Naphtol Red.
Metallic Lustres in Radian Red, Orange Flicker, Majestic Purple. Andy Skinner Stencils: Code Breaker, Incognito, Industrial Elements,Tornado, Day of the Dead,Whirlpool, Accessoires, Vogue,Sunburst, Burning Rubber,Srike the Pose, Old fim, Baroque, Hippy chic, Children, made to measure, Shedded.Serendipity.
Also used some Distress Inks ( Dusty Concord, Picked Raspberry, Ripe Persimmon, Broken China, Barn Door, Mustard Seed, Vintage photo, Walnut Stain, Rusty Hinge, Aged Mahogany.
I made a video how I did the first 4 tags, they all are made the same more or less, just a combination of stencils, inks, paints and stamps
April just started and the first monday og the month it is Haunted Design House Challenge time, them is Going Green, interpret the way you like (Re-cycle, zombie skin, the color green, green eyed envy monster, whatever as long as it it scary as well). Can't wait to see your makes, mean while check out what the other Minions made here (you will find the link to enter there as well)
I went for the re-cycling part of going green, save the earth stuff :-)
The recycle part is the card this is made of, the back of a paperpad and the diecuts are all from pizza boxes (the frozen pizza's, but you can also use cereal boxes)
The image used is Zombie Tangle, you can find him in Zibbet here and on Etsy here
the card was made of black and orange cardstock, the orange card got stamped using a spiderweb stamp. then sprayed some Deco Art Media Misters in Red and Green Yellow on the card. Cut the image out and matted it on black cardstock. The spider and the gravestones are dies, I used black cardstock and embossed it first. as a finishing touch there is some Deco Art Metallic lustre on the edges of the card and on the gravestones and spider.
The word'skulduggery' is a noun,
meaning underhanded or unscrupulous behavior; trickery.
Notice how we purposely misspelled it with two "l"s?
We're looking for SKULLS, but if you can manage to work
both the definition, and the skulls in,
then you have a win, win project on your hands!
So, just to be clear, we want to see skulls. Lots, and lots of skulls Also a new Minion in the Dungeon, Fiona Randall, go check out her awesome work sooooo skulls it is, I made a skull shrine
I die cutted (is that a word?) the vintage card 6 times, 2 were given the same treatment as the Dragon Book, see how to here (as a matter a fact I die cutted those 2 from my test piece. I tried this aging technique on the cardbord first before using it on the book. So glad I saved it cause it saved me a lot of work for this LOL)
The 4 other vintage cabinet cards were glued together. I glued one of the ages cards on the top (aged side up, doh!). Cut the hole out using a ruler and craft knife, safe the aged piece you cut out.
glue the other aged card on the back, (aged side to the back, so you see both aged sides)
see pic
the square aged piece you cut out the first card will be glued in the hole, aged side up, now all sides have a nice aged look and only the sides have to be aged (inside the hole and around the card) but first stamp all the skullies.
To age the sides I used Texture Fierro, apply using a palette knife. Let Dry and add some Elegant Finish Metallics
The flower is also a Tim Holtz Die, same as the ones I used for the Dragon Book, this was a left over from that I explained how to make them here.
The skull is printed twice , cut out and layerd using foam tape to create some dimension, distressed with glossy crackle accents and walnut stain distress ink.
that's about it, go check out the other minions blogs to see the amazing skull projects they made
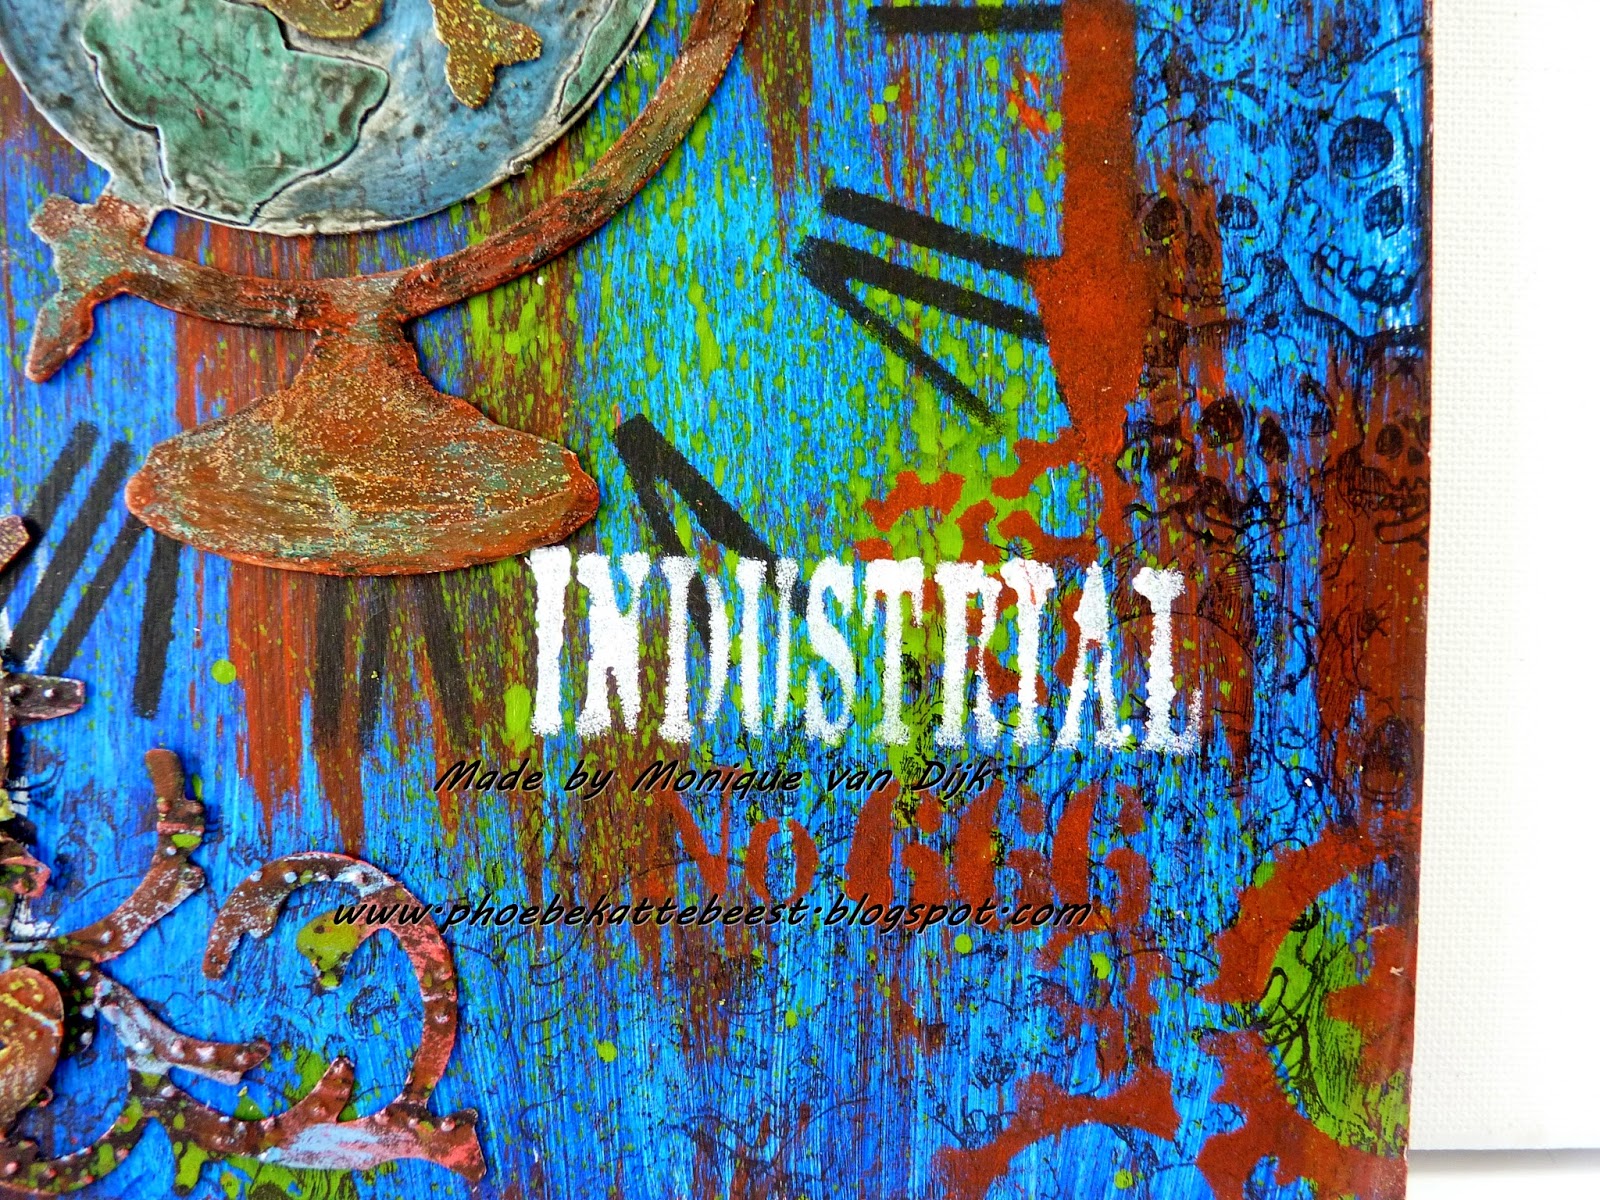
I had the idea to make some mixed media canvasses in Steampunk style, I thought to make gears on the canvas as a background using modeling paste and stencils. The only problem was I needed a steampunk couple to ads to the canvasses, so I asked Rick if he could draw me a steampunk pair, and he came up with this wonderful couple (thanks Boss, you're the best). These 2 are so gorgeous and they are so much fun to colour. BTW there are a lot more steampunk images in Rick's zibbet shop. I will try to explain what I did.
Imagine Crafts stencils: Elemental, Cameo Cog, Mr. Sprocket Tim Holtz Alterations die : Gadget Gears Aluminum tape from hardware store, piece of cardboard, black cardstock, Feathers and embellishments, ruler and embossing pen, foam tape and glue. Tim Holtz embossing folder : riveted metal. How to: First gesso the canvasses, it makes it so much easier to work on. Use the stencils and modelling paste to make the bolts and gears on the canvas (use a pallete knife for that) , when dry, paint canvas Renaissance Brown and use the Olde world patina and the copper paint to create an aged look. Cover the piece of card board with the metal tape and use ruler and embossing pen to make the metal pattern. Age the metal tape using lamp black, Antique teal and copper paint (start with the balck let dry a bit not completely and whipe it of using a babywhipe till you have the effect you like. Let it dry and then add the other colours with a sponge or paint brush, very little paint , sponge or brush should be almost dry, this way you can create the oxide look by dabbing the paint on). Add this faux metal piece to the canvas using foam tape for dimension. Colour the digital images and cut them out. Use foam tape to attache them to the faux metal piece. Die cut the gears out of black cardstock (emboss the cardstock first using riveted metal folder and embossing machine). Use the metallic lustres on the cardstock gears and all embellishments to make them fit to the canvas look. Add all gears and embellishments to the canvasses. That's about it. The fun thing is that this will be published in Just Steampunk Magazine Vol. 5
Hi all, I've been working on a canvas using the Rick St. DennisInsane Hatter, and turned it into a Steampunk canvas using all kinds of metal pieces, DecoArt products and some Tim Holtz dies.
Tim Holtz Alterations : Hardware Findings and Gadget Gears Rubber stamps Steampunk plate 1 + 41 by Kicostamps Clearstamps by Chronology
Embellishments: Plastic frame, the small light bulbs,the spring and the bolts and rings came from dear husbands garage ;-) but he probably bought them in a hardware store :-) There are some foam roses and a small playing card, letter beads some hat pins and and old key and wooden spool with some brown thread. The iron flowers are home decorations and the big gears are plastic parts from an empty tape runner that I took apart. The small gears on the Hatters hat are old watch parts
The canvas was prepared using the Gesso, then a layer of emperors gold paint. The weathered wood was applied and the top layer is lamp black. When the crackling was done and dry the frame was made using texture crackle, applied using a pallet knife, when that was dry it was painted lamp black.
The gear rubberstamps and clearstamps are stamped using copper acrylic paint. The copper paint was also used to add the metallic aged look to the crackle frame.
All embellishments were given an old worn look using the metallic lustres, the foam roses were allready red but I gave them a layer of sizzling red glitter paint to give them some shine some detail pics