Followers

Showing posts with label altered art. Show all posts

Sunday, April 30, 2017

Assemblage art, altered frame

I made this shadow box, today and made a video about the process,  see link at the end of this post.

It's so hard to take a good picture because of the reflections in the glass, but I hope you get the idea.


Supply list

Deco Art Products: 
Media Fluid acrylics in: Prussian Blue, Titan Buff, Raw Sienna, Burnt Umber, Quinacridone Gold, Paynes Grey, Tranparent Iron Oxide, Cobalt Teal Hue. Texture sand, Gesso, 
Metallic lustre in Copper kettle
Triple Thick Gloss Glaze
Tim Holtz Distress Ink in Black Sooth, Peacock, Walnut Stain, Vintage pjoto

The wings are made using air dry clay and a silicone mold, see how to video here 
ou also need a (plastic) photoframe, some patterned paper, a plastic skelleton and somekind of embellishment that can be used as head

Here some more pictures


Sorry I really tried to get better pictures but there kept being a reflection no matter what angle I used....sigh.

as promised here the video


I will enter the following challenges

http://mixedmediaworld.blogspot.nl/2017/04/mmw24-anything-mixed-media-goes-with.html

Tuesday, July 5, 2016

Eiffel tower canvas

I have been working on this canvas and have been doubting about adding the ribbon or not, so I kept changing it and finally decided it still needs the ribbon :-) So here it is (after takingthe lace of, and putting it on again) the final piece :-)

Products used:
Deco Art Americana acrylics in :Driftwood, Traditional Burnt Umber, Antique White, Sea Breeze. Deco Art Americana Matte Varnish, Deco Art Dazzling Metallics in Renaissance Brown. Deco Art Media Gesso, Deco Art Media Crackle Glaze, Deco Art Media Matte Medium, Deco Art Media Antiquing Cream in Raw Umber, Deco Art Americana Decor Stencil Distressed Harlequin,
Stamps used: Andy Skinner Industrial set by Stampendous and The French Market Clear stamps set by Tim Holtz. Prima Marketing Built a frame clearstamp set 2, Ranger Archival Jet Black Inkpad and  Walnut Stain Distress Ink by Tim Holtz.
Lace, Eiffel tower Charm, old dictionary page, piece cardboard and a canvas. Derwent Inktense pencils.


The page came from my  Dutch to French dictionary I used in school, the paper was allready yellowed but I thought it needed some more aging. To make sure the paper would not bleed when using stamps, I added a few layers of Matte varnish. Stamped the corners and coloured the stamps with inktense pencils.
Added the sea breez acrylic in the middle of the page and stamped the Eiffel tower.
Added some more matte Varnish to protect the stamping and colouring and when dry I added the Crackle glaze.


When Crackle glaze is dry rubb antiquing cream in the crackles and over the page, whipe back again when dry till you like the result and protect with matte varnish.

Gesso the canvas and the piece of carboard (I gesso both sides of the cardboard so it won't warp)

Paint the canvas Antique Linnen and let dry, make a wash of Traditional burnt umber and  water and age the canvas using a kitchen towel.

Paint the cardboard in Sea breeze and Driftwood using a sponge. When paint is dry use the French Market clearstamp set to create the back ground. Next use the Industrial stamps by Stampendous to age the background and give it the same wash as the dictionary page.
Use Matte Varnish to protect it
Use the distressed Harlquin stencil on the canvas using the Deco Art Dazzling Metallic in Renaissance Brown, and  add some on the edges of the page and the charm.

Distress the edges of the carboard using a small paint brush and traditional burnt umber paint .


age the lace and make a bow. add the charm to the bow .

Glue all parts togehter, I usse matte medium to glue the page to the card board.

Sit back and relax (oh....no ... first clean paint brushes and stencils lol, Stencil and paint brush cleaner will make it easier tho)


I will enter the following challenges

http://tuesdaytaggers.blogspot.nl/2016/07/happy-holidays-5th-july.html

http://pinspirationalchallenges.blogspot.nl/2016/07/pinspirational-challenge-169.html

http://welove2create.blogspot.nl/2016/07/challenge-14-anything-creativemixed.html

Friday, July 17, 2015

altered palette #3

The last one in the alterd palette series (well for now anyway...), a steampunk one, just like the other 2 I made this for friends as a little present.


Deco Art products used: Glamour Dust glitter paint in Ice Crystal. Americana matte varnish, Americana Acrylic Gesso, Traditions acrylics in the colours; Raw Umber, Pthalo green blue, Hansa yellow, Opaque white, ultramarine blue, Carbon black, Red Violet. Media fluid acrylics in Burnt umber, transparent red iron oxide, Metallic Lusttre in Copper kettle, Iced espresso, Black Shimmer
I used rubber stamps from the Stempelwinkel, Kicostamps and some clear stamps. A wooden paint palette, and some cheap paintbrushes. The dies are all Alterations by Sizzix


Start with a layer of gesso, it will make a better surface to paint on and it makes the palette white, so the colours of the paint will show up better. Paint the palette Ultramarine blue and let dry, I stamped the gears and painted the galaxy layer using sponges and a toothbrush. I have made a video about that here, I just ued diffferent colours this time. Next is the stamping, Varnish and add the glitter and age the edges using a paint brush and paint some damaged spots to the edges. Make a wash using the media fluid in burned umber mixed with water and add that over the palette. When done varnish to protect. Give the paint brushes the same treatment. The Die cuts are painted black and given some metallic lustres layers.


I will enter the following challenges

http://rheddscreativespirit.blogspot.co.uk/2015/07/julys-challenge.html

http://alteredeclectics.blogspot.co.uk/2015/07/july-is-it-really-where-is-time-going-to.html

Monday, June 15, 2015

June bugs the Finnabair way

For the challenge June bugs at Haunted Design House it was my turn to make an inspiration project, it had to have bugs, gems and be scary ofcourse (read all the rules, see the winners and other inspiration, and enter the challenge here), can;t wait to see what you all come up with

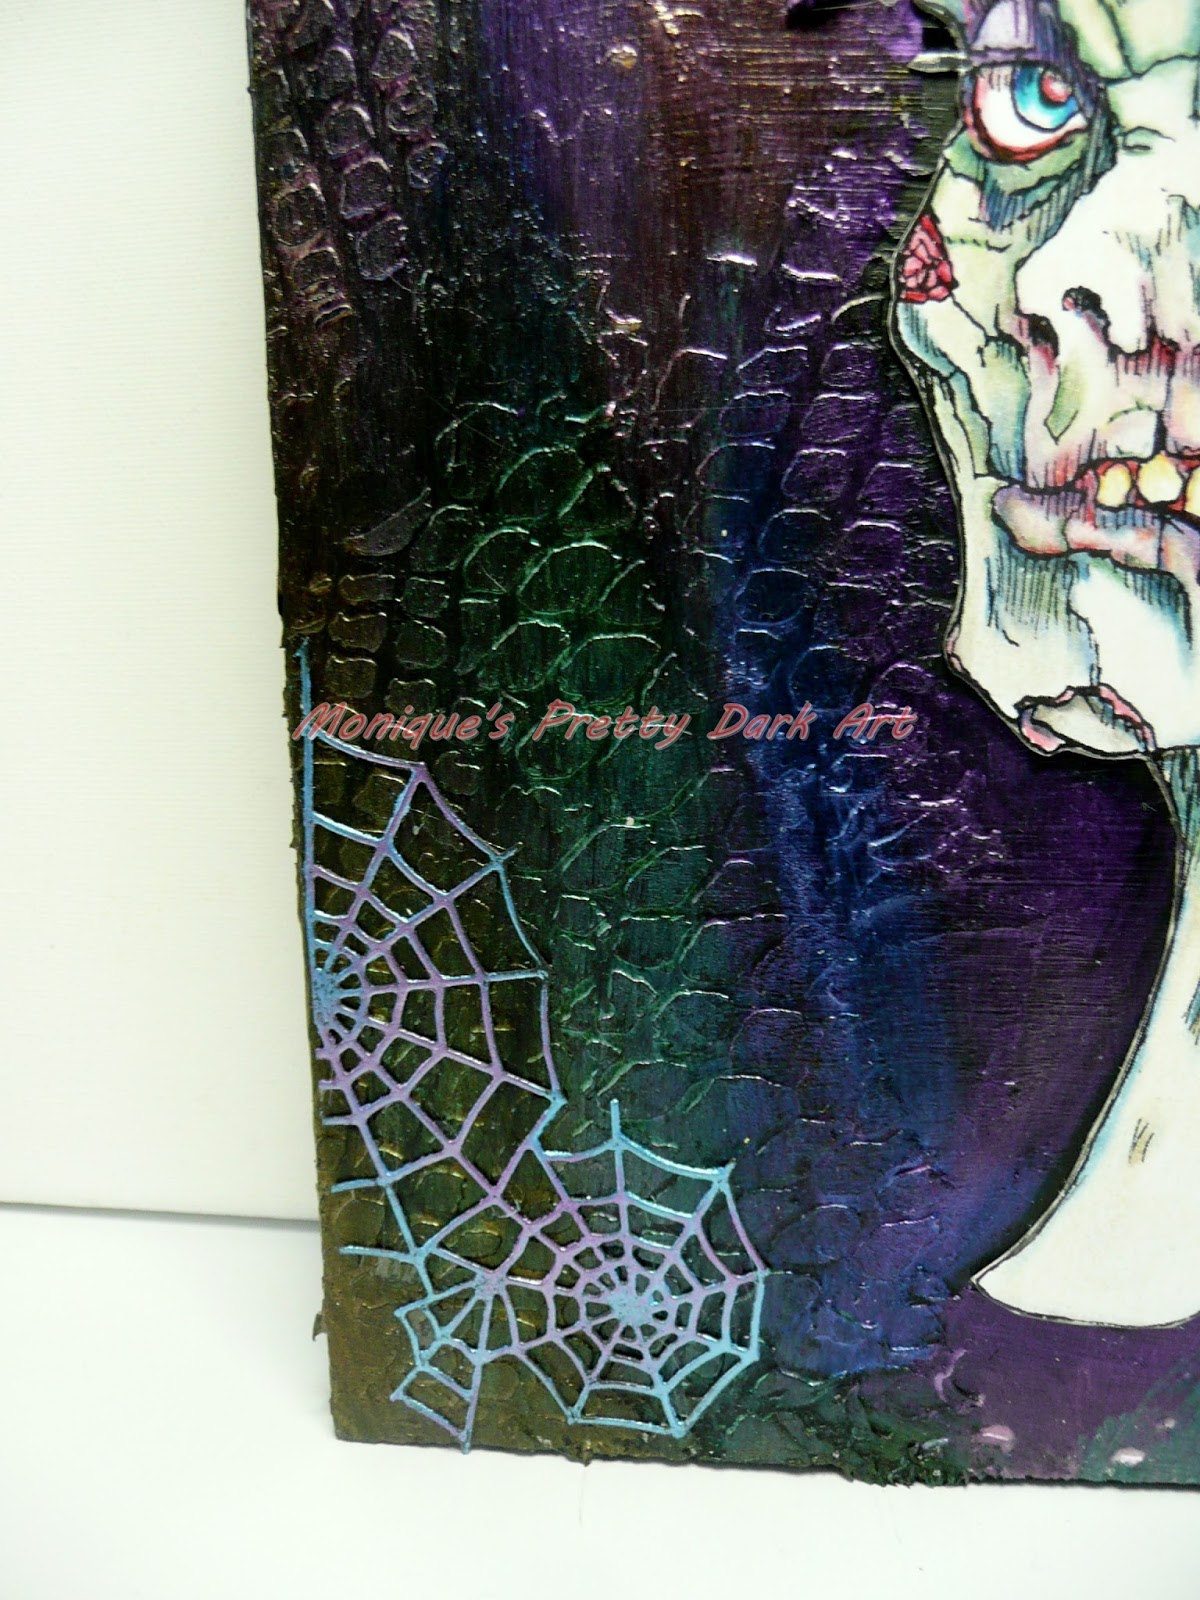
So here it is a Finnabair inspired alterd tray, well the back of the tray is the part that got turned into a canvas :-)


The digital image is a digi by Rick St. dennis specially made for these kind of projects, you can find her here, this pretty lady is called Countess Von Finnbair .


Deco Art products used:
Americana Acrylic Gesso , Modeling Paste and Americana Acrylic in Lamp black.  Media Fluid Acrylics Interference paints in the colors: Violet, Gold, Turquoise, Blue, Magenta and Green. Andy Skinner stencils: Shedded and Snake's web. Metallic lustres in : Silver Spark, Majestic Purple, Elegant Emerald, Cosmic Blue. Glamour Dust Glitter paint in Black Ice

you will also need  a wooden tray, plastic bugs and some dies: Tim Holtz; Gadget Gears and Tatered florals, Graveyard and a movers and shapers Bat. The web is from Memory Box

I started by colouring the image, I used Prismacolor pencils ( the 75 yrs anniversary set, it has the 50 most popular colours in it so a bit different than the 150 I was used too, but turns out 50 is enough lol)


So just colour up the Countess and cut her out, the big bold head will be covered with all kinds of stuff sooo just have fun with this
Meanwhile I had gessoed the back of the wooden tray and used the stencils and modeling paste to create some texture. (tip  make a mask the shape of the head so that part of the canvas gets no modeling paste on it, makes it easier to glue the image on)

Let dry.

Next paint everything black, (you can also use black gesso and black modeling paste both also by Deco Art). the trick with the interference paints is that they show up much better on a dark background so that is why I painted everything black ( all bugs and stuff that is glued to the head was also gessoed and painte black first)

So now it is time to go crzy with the interference paints, they are like magic, shake the bottle and put a bit on a pallete, and you will see no matter which colour you take, what comes out of the bottle is white and you see a shine in the colour that is on the bottle. When you paint this over (dry) black paint the colour comes out and the shine, soo much fun.

 just add the different colurs randomly, if you dont like the result, use black paint to cover, let dry and start over :-)

Next is is time to collect emmbelishments, I used die cuts and some keys, bugs light bulps , skulls and Skellie hands, charms, flowers anythingnyou like, I painted everything before glueing it on.

the spiderwebs in the cormer are made from black cardstock covered with Metallic Lustre in different colours. I used soem Silvdr to adde to the gears and the flowers (made of die cuts and embossed before painting them, to give them a metal look, I used the sizzix embossing folders diamond plate and riveted metal)


Glue the head in the on the canvas and make a nice composition with all embellies, (take a pic with your phone, so you now where you have put everything and start glueing)


Hope you like the result,


BTW check out the RSD fb group Rick is asking for your ideas for rubber stamps, so all input is welcome, if you would like to see Rick's darker images as a rubber stamp please go here and let him know what you are interested in.

I will enter this in the following challenges

http://mixedmediaworld.blogspot.co.uk/2015/06/mmw4-masculinefathers-day.html

http://www.sparklingblackrose-craftmylife.blogspot.co.uk/2015/06/all-crafts-challenge-junejuly.html

Monday, April 6, 2015

Going Green

April just started and the first monday og the month it is Haunted Design House Challenge time, them is Going Green, interpret the way you like (Re-cycle, zombie skin, the color green, green eyed envy monster, whatever as long as it it scary as well). Can't wait to see your makes, mean while check out what the other Minions made here (you will find the link to enter there as well)

I went for the re-cycling part of going green, save the earth stuff :-)


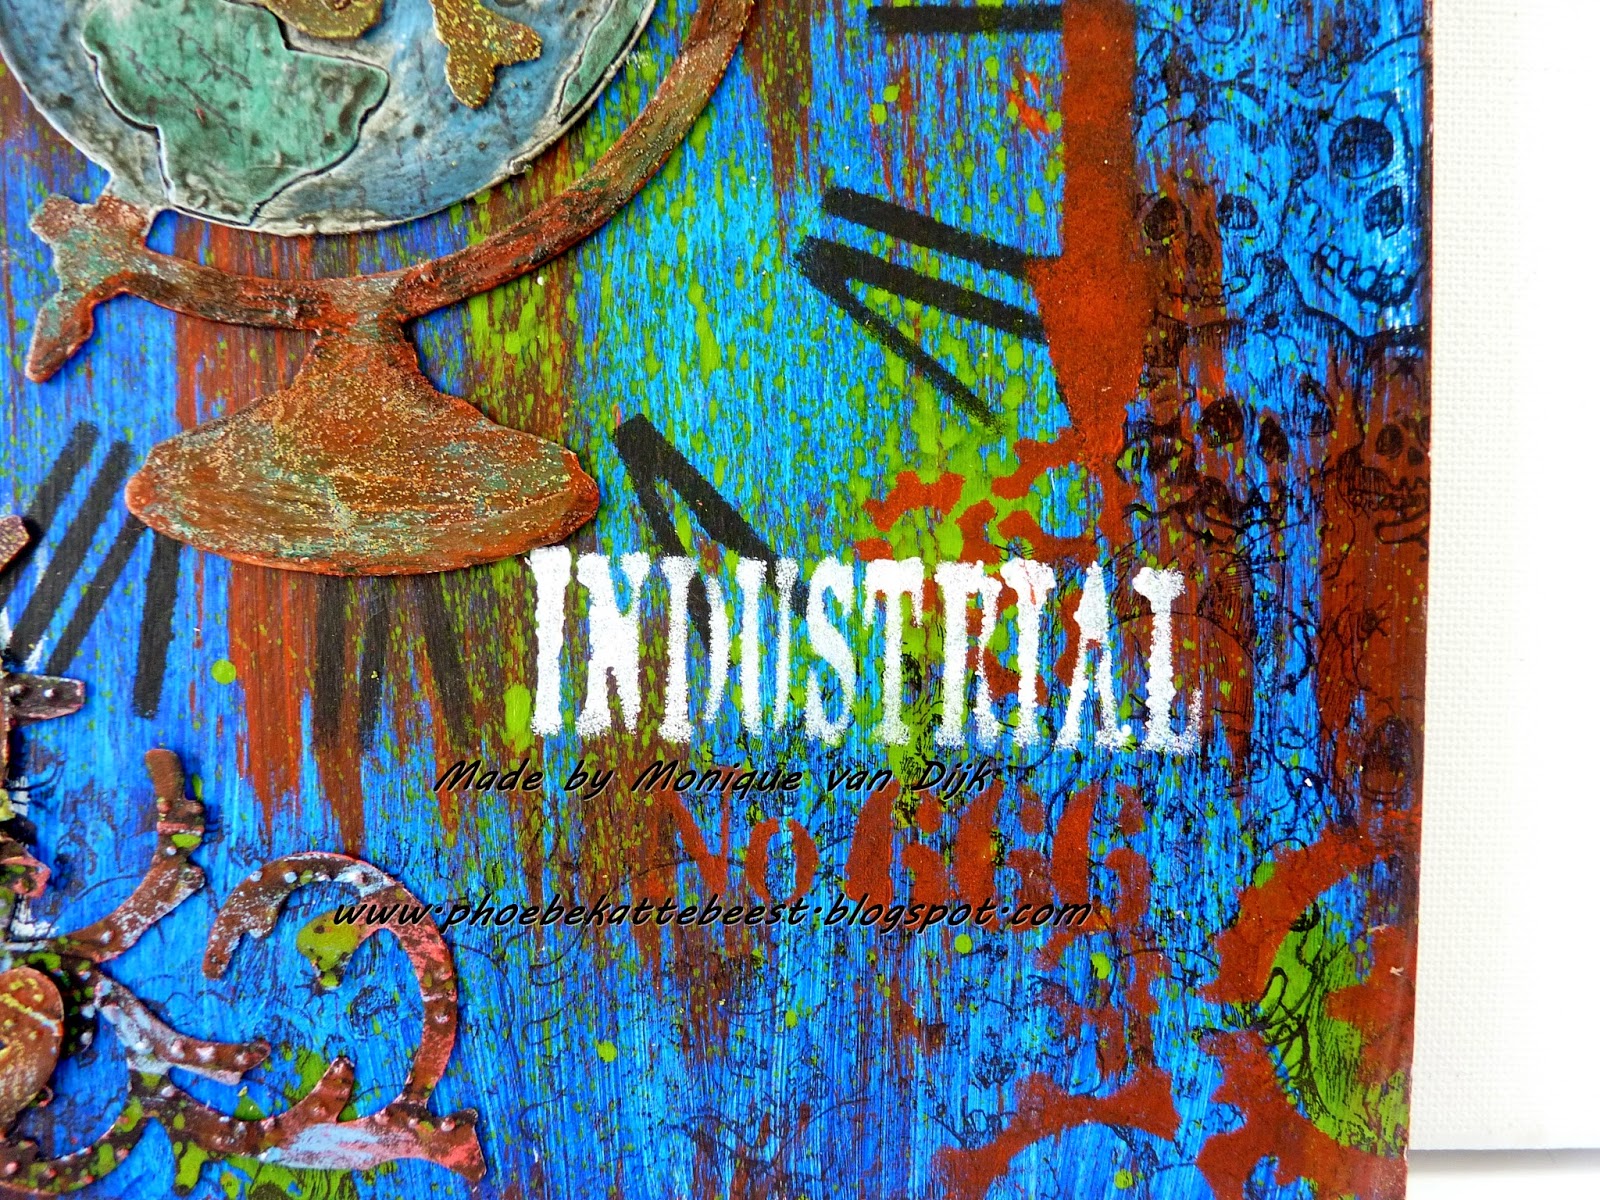
The recycle part is the card this is made of, the back of a paperpad and the diecuts are all from pizza boxes (the frozen pizza's, but you can also use cereal boxes)

fluid acrylics in the colours; Phthalo Green, Phthalo Blue, Paynes Grey, English Red Oxide, Cobalt Teal Hue, Yellow Iron Oxide.
Misters in the colour: Primary Magenta, Yellow green, Turquiose.
Antiquing Cream in Titanium white and Carbon Black
Traditions Acrylic paint in: Phthalo Blue, Carbon Black, Opaque White and Naphtol Red.
Metalic Lustres in: Lavish green, Cosmic blue and Radiant Red
Andy Skinner Mixed Media stencils: Industrial Elements, Made to Measure, Incognito, Code Breaker.

Stamps used: skull stamp from the Morte set from Smeared Ink, designed by Rick St.dennis.
Crackle stamp from Lost Coast Designs
Tim Holtz Alteration dies: Gadget Gears, Vintage Globe, Graveyard.
A flourish and Spider die and the Sizzix Cosmic Flourish #2
Ranger Archival Ink
Babywhipes and kitchentowel, you will also need some paintbrushes and a sponge.


the finished project

The how to video


some detail pics


I will enter the following challenges


Sunday, October 27, 2013

31 days of Halloween day 27

Welcome to day 27 of the 31 days of Halloween organized by Smeared and Smudged,
blogroll is in the side bar.
I am also a Cryptkeeper in the Halloween countdown 2013, for the complete list of 192 Cryptkeepers joining the countdown to Halloween, see link here

today a project made for Domino Art blog, I made a shadow box.

the box was an altered teabox I had used before (I sorta altered my own art lol) it had crackle on it allready but wanted to change that. I covered the crackle on all sides using Deco Arts  Metallic Lustres ( black shimmer, copper kettle and goldrush)

The top of the box was damaged, so covered it with a layer of black cardstock. Then used a nestabillitie die to cut out the shape. 
The Skull is a digital image by Rick St. Dennis it's called "born to raise hell"(can't find it in the Zibbet shop but there are over 600 other images there, and maybe this one will show up too). It was coloured using pencils, then fussy cut and glued to the die. I added red glitter glue to the edges.
Then I embossed the remains of the card were the square was cut out of, I used a Tim Holtz embossing folder for that. Glued the embossed carstock on the edges of the lit and used the Metallic Lustres to get the same colour as the sides of the box. glued the die cut with the image on.

The inside of the box was painted using Deco Arts Americana acrylic paint, colours lamp black and true red. Used Deco Arts Weathered Wood  crackle medium on top of the layer black, let dry and added the red top layer.

The goodies inside:

a plastic skull also put some metallic lustre on it, the axe  and the skull coin are my sons toys (they were stored in the cellar for a few years now and it was time to clean up a bit LOL, luckely he asks me first if i need anything before he throws them away LOL)

behind the skulls are Tarot cards (death of course) and the playing card ace of spades (also the card of death), There are some dominoes and letter dice inside (spelling death and skull)

in the small cubbies there are skullies, small poison bottels filled with glitter glue, a scary doll, and two stamped dominoes, first coloured  them using alcohol ink.

there's also a small pumpkin and a crystal ball, made out of a marble and buttons.

There is also a bingo number and some scrabble tiles spelling BOO


lots of pics: first products used
 
the outside (pics of all sides LOL)


a closer look at the Rick St. Dennis digi, check out his Zibbet shop

 
the inside


see you for day 28
 

Saturday, October 19, 2013

31 days of Halloween day 19

Welcome to day 19 of the 31 days of Halloween organized by Smeared and Smudged,
blogroll is in the side bar.
I am also a Cryptkeeper in the Halloween countdown 2013, for the complete list of 192 Cryptkeepers joining the countdown to Halloween, see link here

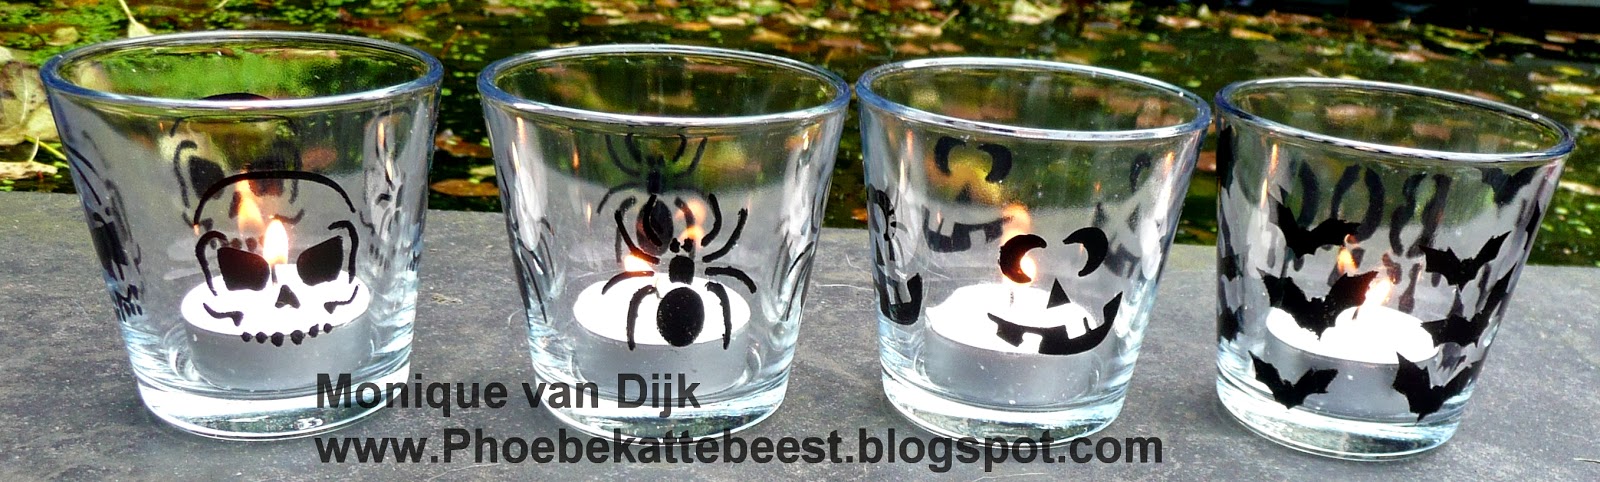
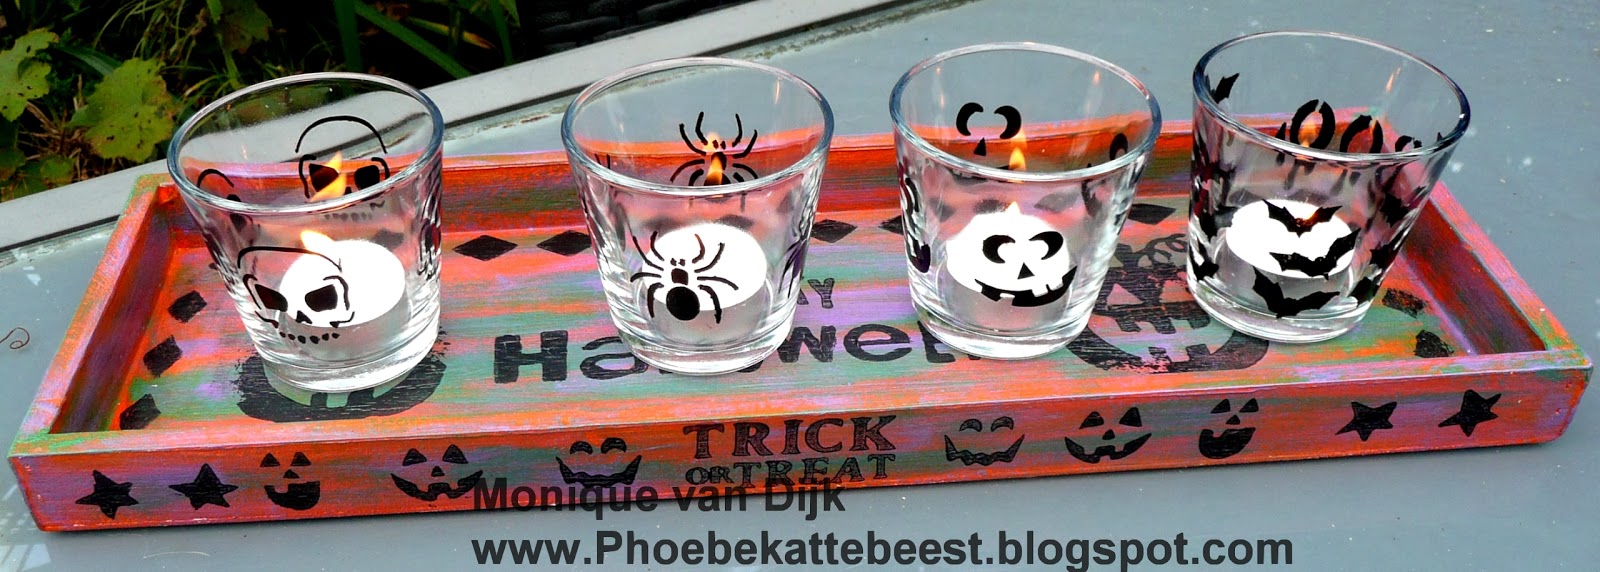
for today's post I've got another altered item for you. I changed a white tray to a Halloween tray, also decorated glass candle holders for Halloween.
The tray was white , I gessoed it and painted it spiced pumpkin using Deco Art americana acrylics, then added sour apple , and lavender with almost dry brush, to give it a spooky look.
Then a layer of Weathered wood crackle medium , then I stamped the black (lamp black) pumpkins and tekst. It did crackle but the pics don't show it well.
Finished with a protective layer of matte varnish.

The glass candle holders were decorated using the Deco Art spooky stencil and a glass paint marker.


and another AJ page, the background is made using a Gelli plate Americana Acrylic paints (berry red, blue harbor , spiced pumpkin,  cadmium yellow) and Tim Holtz and Sizzix dies that have been used as a mask.
The Rick St. Dennis image used is called Crow Hunter you can find him in the  Etsy or in the zibbet shop.
 
The senti is from "The Crow" (duh!!)


see you for day 20