Followers

Showing posts with label haunted design house. Show all posts

Monday, May 23, 2016

Haunted Design House Evil Returns

Evil Returns, it;s been a while since we minions posted on the HDH blog, but seems we are back, well for this post anyway........

just a quickie, a book box


Deco Art products used, Metallic Lustres in black shimmer , silver spark and Iced Espresso, Gold Rush. Deco Art Media Gesso. Deco Art Paper effrects in metallic copper. Deco Art Americana acrylics in Hauser dark green, Celery green, Navy Blue, Lamp Black, Saffron Yellow, Grey Sky

this is was a chocolate box turned into a shadow  box, the cover is an embossing folder and the back it metal foil tape, on the inside some stenceling and stampng


I used it as a birthday card for a teen boy, he liked it a lot

Friday, October 16, 2015

Halloween at Haunted Design House


Sorry due to circumstances a bit too early on my blog, on HDH this will show monday Oct. 19th,

 the challenge at HDH is Halloween themed, so get over there and add your entry :-)
I made a Halloween/skellie Shrine


The skulls stamp in the background is from the Morte set by Rick St.dennis, now avialable as digi only here


The base is a tree slice, added paintable texture  crackle and painted it Orange Flame when dry. Made a wash of the Carbon black and rubbed it into the crackles and over the orange to make it look a bit aged.

All dies are Tim Holz, the pentagram is made using sticks put togehter using wire and painded Carbon Black.

The crackle backgound got skulls stamped on (rubber stamp designed by Rick St. dennis, no longer available in rubber only as digi stamp).

Next I added Triple Thick Gloss Glaze over the crackle layer to protect the paint and stamps. The Dies got painted and the Happy Halloween Sign got the Andy Skinner crackle stamp on it. Happy Halloween was stamped and has gold embossing powder on it.

next the dies got  a layerTriple thick gloss on them.


The plastic skellie was heated using my heatgun and bended into a sitting position  and got seated on the pentagram


A shrine needs a candle ofcourse, so I glued a plastic skellie hand to the wood (painted it black first) and put a battery operated candle on it ( real candle and plasic skellie is melt down I guess lol)


we can;t wait to see your entries here


I will enter this in the Deco Art Mixed Media Haunts challenge here

http://decoart.com/mixedmediablog/article/135/mixed_media_haunts_challenge


Monday, September 21, 2015

the nights are drawing in

Part 2 of the HDH challenge, enter you creepy stuff here

I altered a thimple and because it was a gift I mate a matching giftbox .


Deco Art products used: Dazzling metallics in Moss Pearl, Ametyst and venetion  Gold.  Texture Glass, Americana Acrylic in Lamp black, Metallic Lustres in Black Shimmer, Silver Sparkle and Copper Kettle


Monday, July 20, 2015

rock n roll at hdh

This month's challenge is all about music and songs. Pick a tune and get inspired. Use the lyrics, or the music, or even the video if you're so inclined. Remember to keep it dark and creepy

I went for an altered box, and put a little surprise in it LOL


 I found this awesome Eddie drawing by Silverwings ltd on Deviant art I asked permission to use it)  and coloured it up using my Faber Castell Art Grip pencils.
 the box is cardboard and I used Deco Art Gesso as a base and added Media Fluid acrylics in Prussian Blue Hue mixed with Titan Buff,  and put a layer of antiquing cream in titanium white. Rubbed some off again and stamped the crackles using the Industrial stampset by Andy Skinner
 Varnished the box and added a wash of Deco Art Media fluids in English Red Oxide mixed with a little Burnt Umber and water.
 Cut out Eddie and glued him on

The brains are made from clay (Dash) and is painted using Americana acrylics in Terra Coral and a bit black. Finished the brain stamping the veins on in red Archival ink using the AS crackle stamp again (lol) and put a layer of Triple thick  gloss glaze on


Well I guess you know by now I was inspored by Iron Maiden, Can I play with Madness

Can't wait to see your entries

I will enter the following challenges

http://leftofcenterchallenges.blogspot.nl/2015/07/challenge-87-3-of-kind-with-sweet-pea.html

http://rheddscreativespirit.blogspot.co.uk/2015/07/julys-challenge.html

http://foreverdark2.blogspot.nl/2015/07/challenge-2.html

http://dreamindarkness.blogspot.nl/2015/07/now-it-is-time-for-our-3rd-challenge.html

Monday, May 18, 2015

May I have a quick word part too at Haunted design House

Time for part 2 oft the "May I have a quick word "challenge  at hdh,  soooo a project made in less than a day or use a word.


I went for the quick project, took about an hour and a half (thinking time not counted lol)


This is a wooden tag, painted, stamped and added a little poison bottle.

the tag is gessoed and  painted using Americana acrylics, stamps are Lost Coast Designs and the Drink me label is a part of an I Brake for Stamps stamp designed by Rick St.dennis. The bottle has textured glas on it and is gessoed and painted using Dazzling Metallics.

Check out the rest of the minions inspiration here, and enter the challenge here


,
Deco Art products used :
Americana Gesso, Americana acrylics in the colours : Spa Blue, Mocha and Drift wood. Dazzling Metallics in Moss Pearl and Teal. Traditions acrylic in Carbon Black and Texture Glass

Monday, April 6, 2015

Going Green

April just started and the first monday og the month it is Haunted Design House Challenge time, them is Going Green, interpret the way you like (Re-cycle, zombie skin, the color green, green eyed envy monster, whatever as long as it it scary as well). Can't wait to see your makes, mean while check out what the other Minions made here (you will find the link to enter there as well)

I went for the re-cycling part of going green, save the earth stuff :-)


The recycle part is the card this is made of, the back of a paperpad and the diecuts are all from pizza boxes (the frozen pizza's, but you can also use cereal boxes)

fluid acrylics in the colours; Phthalo Green, Phthalo Blue, Paynes Grey, English Red Oxide, Cobalt Teal Hue, Yellow Iron Oxide.
Misters in the colour: Primary Magenta, Yellow green, Turquiose.
Antiquing Cream in Titanium white and Carbon Black
Traditions Acrylic paint in: Phthalo Blue, Carbon Black, Opaque White and Naphtol Red.
Metalic Lustres in: Lavish green, Cosmic blue and Radiant Red
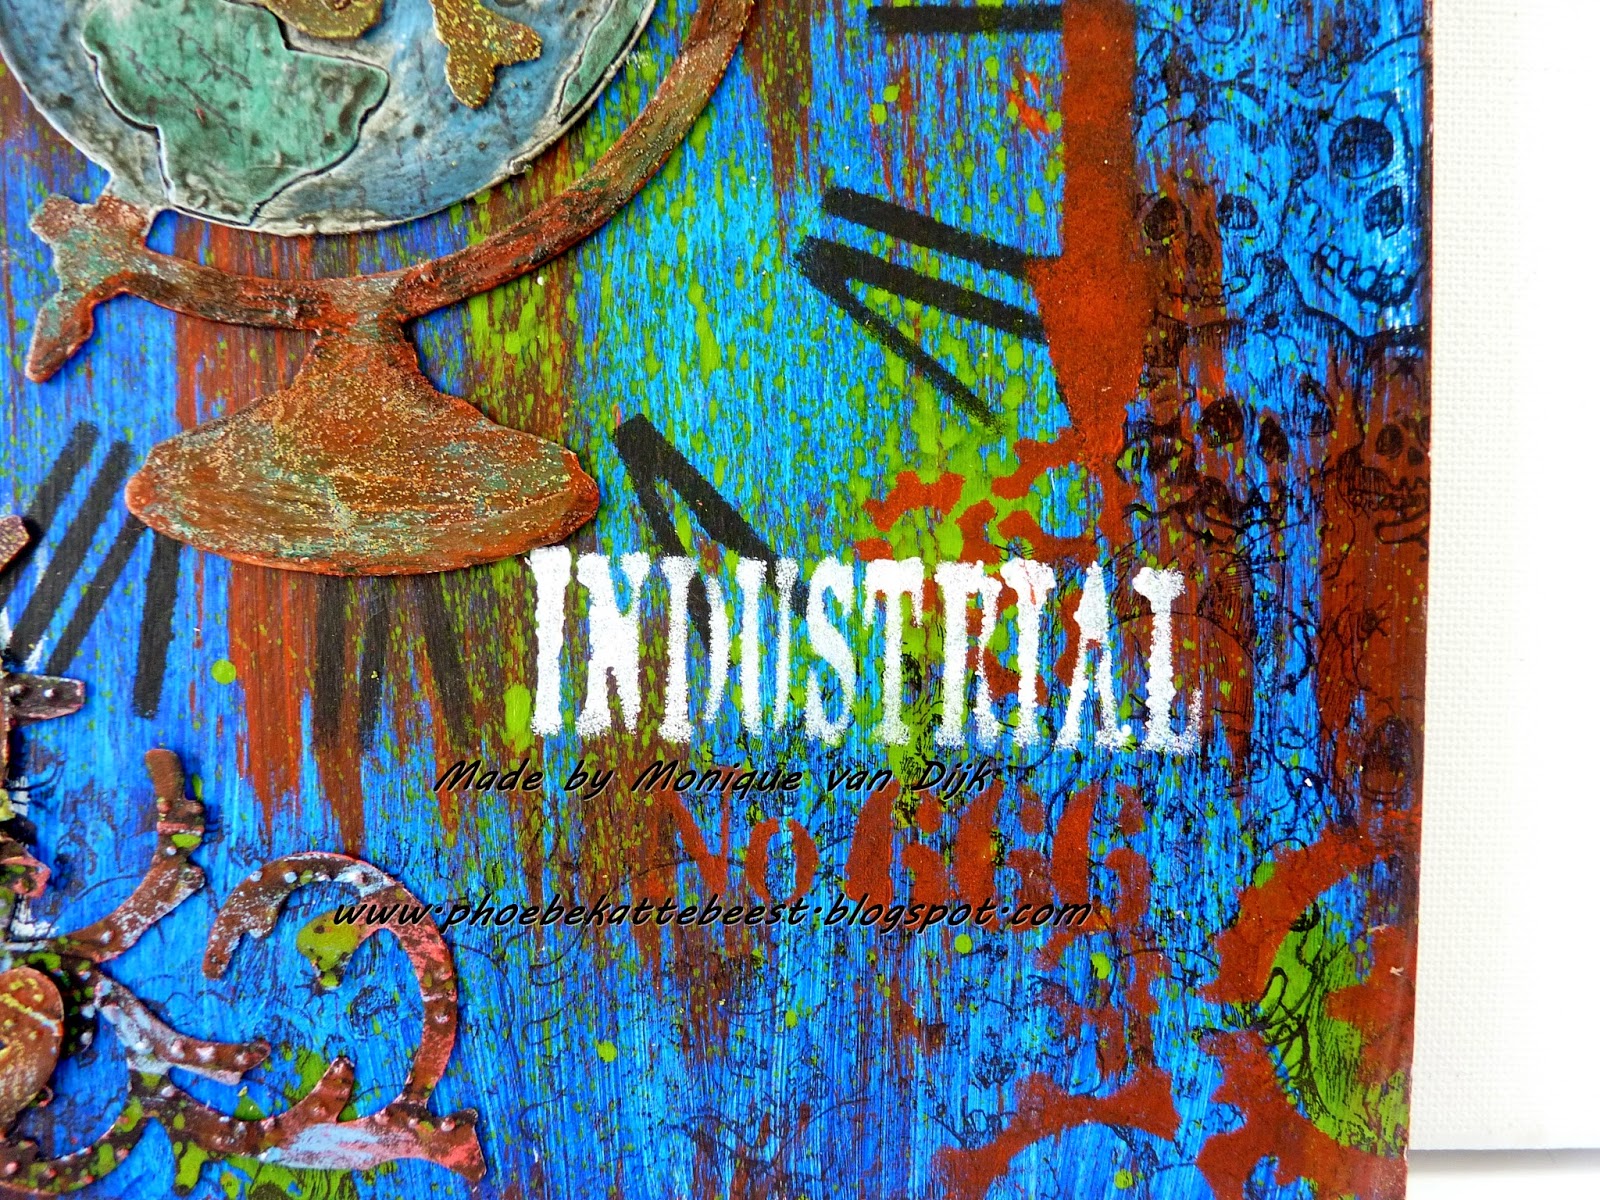
Andy Skinner Mixed Media stencils: Industrial Elements, Made to Measure, Incognito, Code Breaker.

Stamps used: skull stamp from the Morte set from Smeared Ink, designed by Rick St.dennis.
Crackle stamp from Lost Coast Designs
Tim Holtz Alteration dies: Gadget Gears, Vintage Globe, Graveyard.
A flourish and Spider die and the Sizzix Cosmic Flourish #2
Ranger Archival Ink
Babywhipes and kitchentowel, you will also need some paintbrushes and a sponge.


the finished project

The how to video


some detail pics


I will enter the following challenges


Monday, January 19, 2015

Haunted Design House , what's new pussycat

Still time to ente the challenge at HDH, (we even announced the very last Gruesome Twosomes, yah I know it was about time we are bad Minions , no worries we have been punishe allready and will do a better job picking a winner from now on. Speaking of winning, there are some changes so read all about that in the Haunted Design House blog......


My project this time is an Art Journal page, I used  the technique you can see in this video by Andy Skinner

I Poducts used listed below they are quite simular as in the video, I used some other colours but the idea is the same

Deco Art products used
Traditons Acrylic paint in the colours : Phtahalo Blue, Hansa Yellow, Naphtol Red Light, Carbon Black, Opaque White. Extender and Blender medium. Media fluids in Cadmiun Orange Hue, Cobalt Blue Hue, Cobalt turquoise hue.  Americana Matte varnish, and acrylic Gesso.

can;t wait to see your entries

Monday, January 5, 2015

Haunted Design House is back .....

Time for a new challenge at HDH, some things chaged though so you might want to go to the blog to check the new rules out


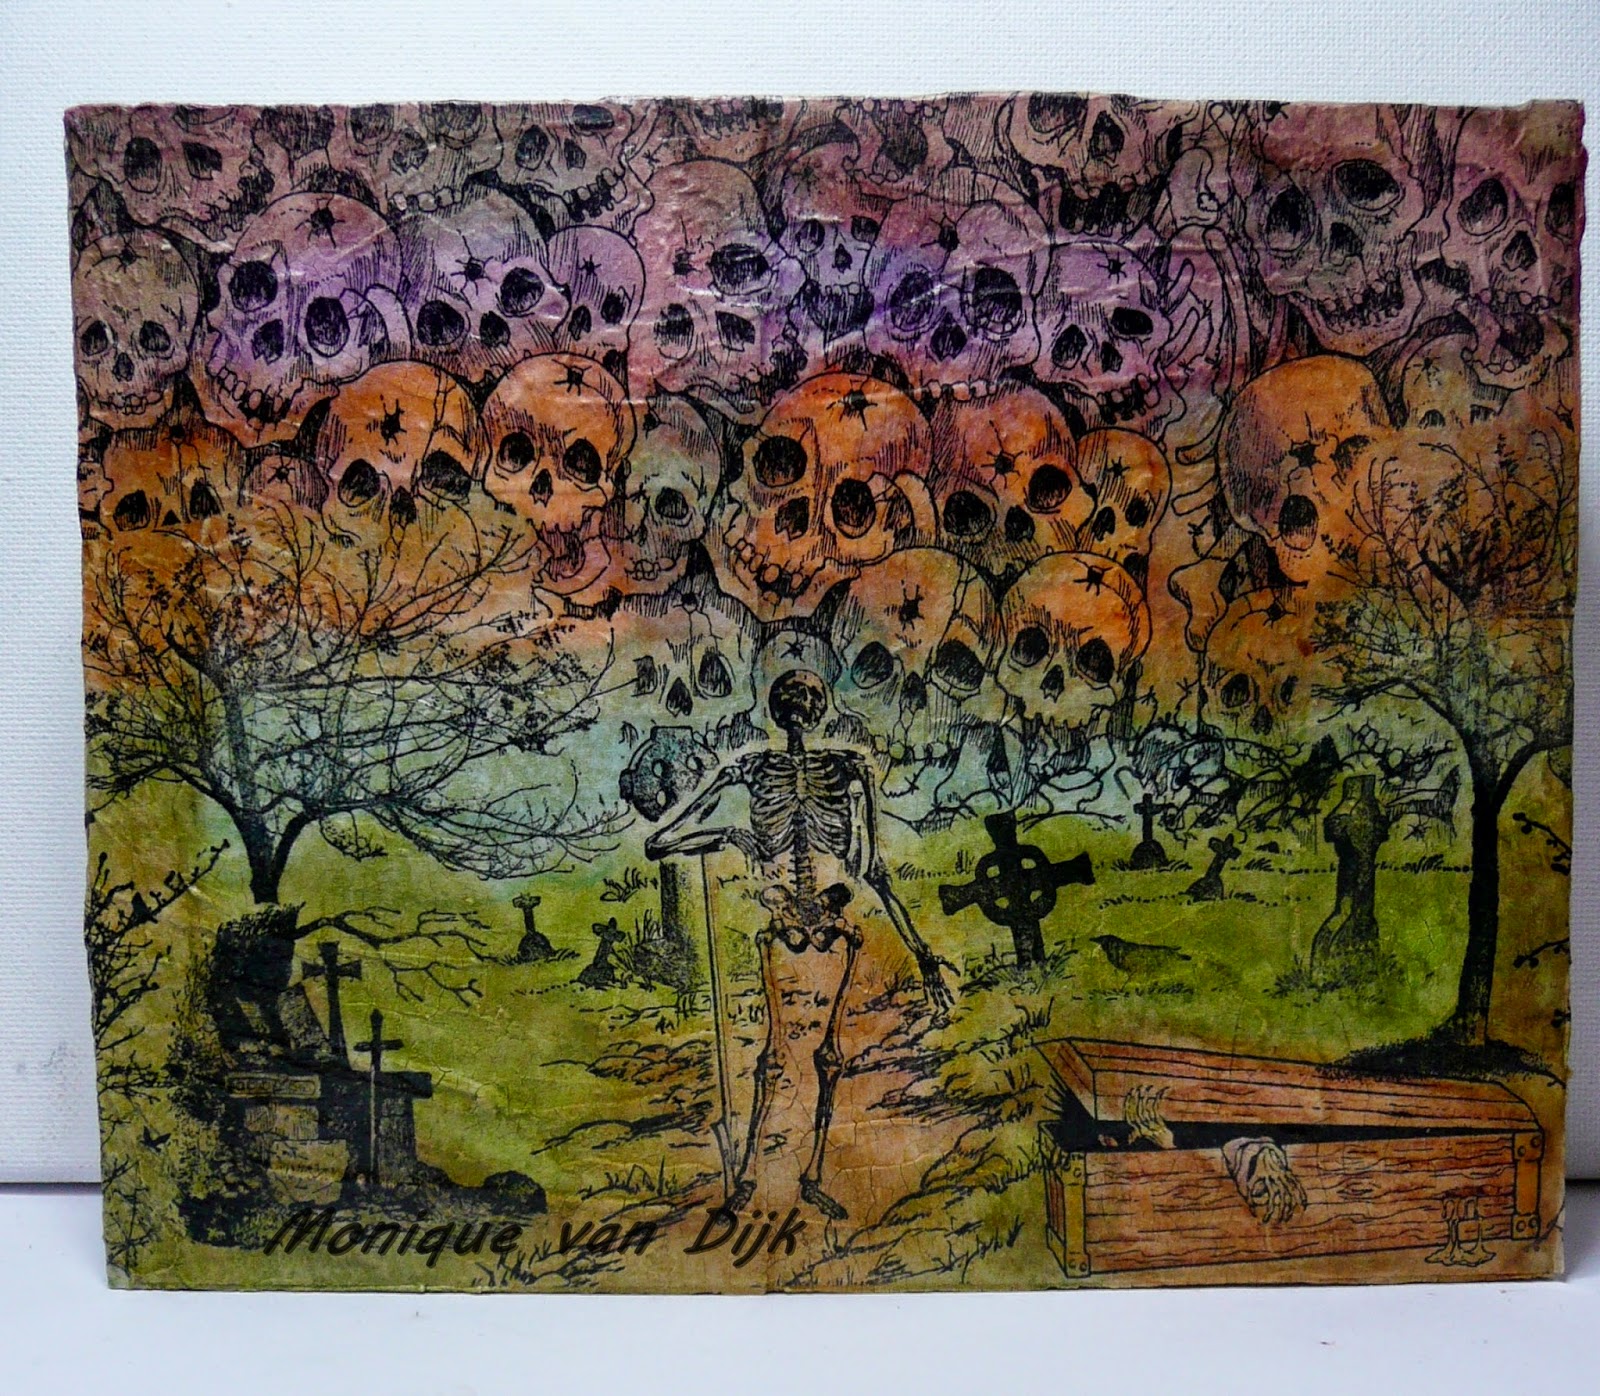
the theme is what's new pussycat, and I went for a new teqnique, stamping on tissuepaper and decoupage that on wood that has a layer of texture crackle on it.

her the pics


Deco Art products used: Texture crackle, Gesso, Decou page, Americana Acrylics in True Ochre, Hauser medium Green, Putple Pizzaz Tangerine and Sea Breeze.
The Skulls are a rubber stamp designed by Rick St.dennis available at Smeared Ink. The rest of the stamps is all from de Stempelwinkel


I took a piece of wood, gessoed it and added crackle texture over it, let it dry. Paint it using the Americana acryclic, just water the paint down and put in in where it should be , more or less, no need to be precise.

when paint is dry add a layers of  decoupage and put the tisue paper on the wood, add another layer decoupage on top of the tissuepaper, The crcks shine through, it is hard to see in the picture, but it looks like this is stamped directly on crackled wood


I will enter the following challenges

http://www.smudgyantics.blogspot.se/2015/01/happy-new-year-and-our-new-challenge.html

http://destempelwinkelstampers.blogspot.co.uk/2015/01/happy-new-year-our-1st-challenge.html


Monday, October 20, 2014

macabre monday at HDH and day 20 of the 31 days of Halloween on AC

A double purpose post today, sorry, life got in the way big time so I had to combine a bit, hope you don't mind.

So for the new challenge at Haunted Design House  and my turn on the 31 days posts on Airless Chambers.....

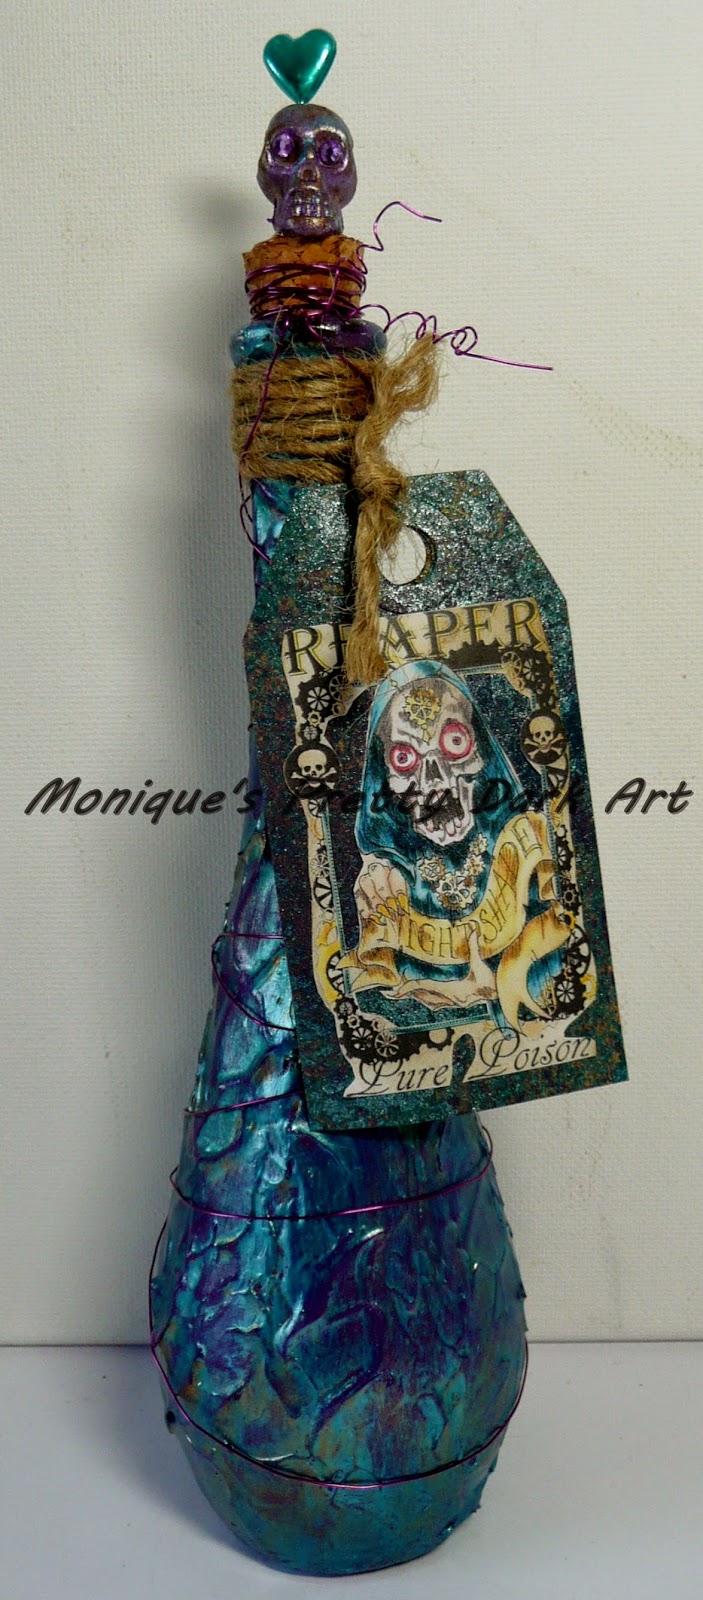
 I made a poison bottle for you, what's Halloween without poison?? Yah see, you absolutely need one......

so first a pic and than the receipe..


Ingredients:
A bottle (just a glass bottle any bottle will do)
Rick St. dennis digi called bottle lables (duh!!!) it's a set of 3 (1 bottle is never enough)
Deco Art products used
Dazzling Metallic paint in colour Teal
Elegant finish metallic paint in Medieval Gold
Metallic Lustres  in Brilliant Turquoise, Majestic Purple and Iced Espesso
Deco Art Media misters in purple and shimmer mister in turquoise
Wire, a plastic skull bead, a heart shaped hat pin, a kraft tag and some rope,  rhinestones


How to make a poison bottle for dummies:

1)  Remove cork (make sure it doesn't get lost) and clean the bottle (I use rubbing alcohol, don't drink the stuff, if you do you will not be able to complete this project).

2) Open the jar of Texture glass and stir, the stuff is white, but the cool thing is, it dries clear.

3) Use a palette knife to apply the texture glass on the bottle, dabb the palette knife on the covered bottle to get the texture, it's easy you can do it, you'll see.

4) Let dry (I just let it stay over night to make sure the thicker parts of the texture glass are dry too, and no,.... don't touch the stuff untill the next day, cuz you'll get finger prints in the texture. You DON'T want your finger prints on a poison bottle, savvy?)


While bottle is drying
Color the digi from the bottle lable set, I used Reaper Pure Poison (why go for less if you can have the pure stuff), 
Use the misters to give the tag a cool look :-) cut out the dig and glue it on the label

Add the metallic lustres (all 3 colors) on the plastic skull (rub with cloth to get more shine in between layers) 
Glue the rhinestones in the skull's eyes and let dry, done for today go do something else f.i. colour a digi, enter the DT call...whatever.....


next day :-)

5) Paint the bottle using the multisurface acrylic in eggplant, and let dry.

6) Paint a layer of Dazzling metallic paint in teal (shake bottle first, the paint bottle, not the one you are altering, well you can shake that too if you want, but it doesn't affect the end result, unless you drop it, in which case you clean up the shards (carefull sharp and you don;t want your DNA all over the place), find a new bottle and start over again), 
 Whipe off on randome spots till you get the result as in pic above. Let dry.

7) Shake the jar of elegant finish in medieval gold (open it)  and use a fan brush to apply a thin layer see pic.

Take a piece of rope and wrap it around the neck of the bottle, and attach the tag to the rope.
put the cork in the bottle 

Put the hat pin through the hole in the skull bead and press it into the cork (the hat pin not the skull)

Take the wire and wrap it around the cork and the bottle end next to the cork and make a nice curl in the wire.

Done, easy peasy, now for the poison.......there are several options, it just depends on what (who) you will be using it on, I suggest to google for the right receipe, it's out there somewhere, I'm sure

hope to see you all again tomorrow enjoy the hop


can;t wait to see your entries in the challenge at HDH

I will enter the following challenges